So, I’ve been tinkering with my Raspberry Pi for the past couple of days. This weekend, I started with my time-lapse video generator using Raspberry Pi and its camera module. Taking snapshots is easy because RPi has a built-in raspistill command:
raspistill -hf -vf -x -o melody.jpg
There are many options which you can find here.
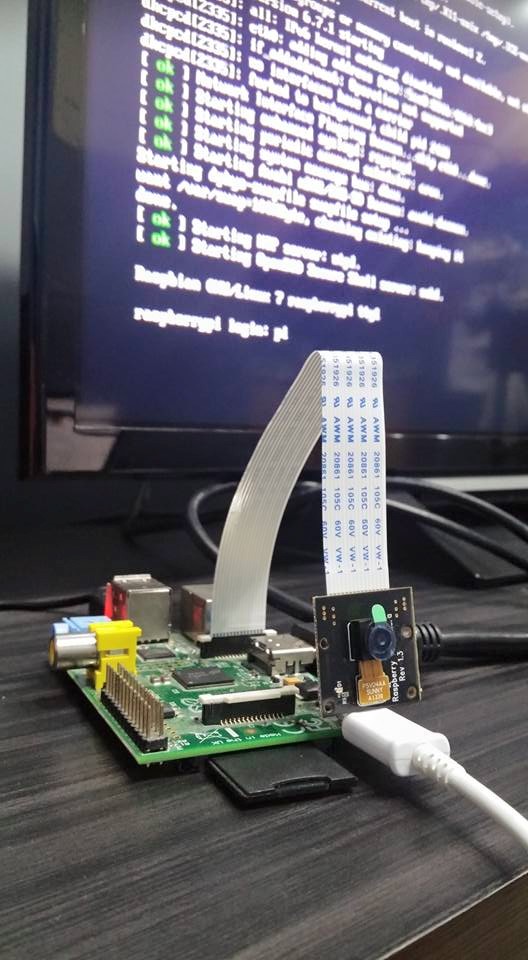
When I connected the camera to its slot, the camera is positioned upside down just like the image below:
So, horizontal and vertical flips are both needed to rotate the image 180 degrees. Adding both -hf and -vf flags help me capture correctly.
Adding the -x flag gets EXIF data, which has date and time (and many other things), written to the image. Which brings me to the next step. I needed this for embedding timestamps on the still images because why not.
Putting timestamp
To be able to annotate onto the images, ImageMagick must be installed.
sudo apt-get install imagemagickI created a basic script for annotating:
[pastacode lang=”bash” message=”” highlight=”” provider=”manual” manual=”convert%20%24file%20-gravity%20NorthEast%20-pointsize%2070%20-fill%20white%20%20-stroke%20black%20%5C%0A%20%20%20%20%20%20%20-annotate%20%2B100%2B100%20%20%25%5Bexif%3ADateTimeOriginal%5D%20%5C%0A%20%20%20%20%20%20%20-gravity%20SouthWest%20%5C%0A%20%20%20%20%20%20%20-pointsize%2040%20-stroke%20gray%20-annotate%20%2B100%2B100%20’by%20%40katpadi%20using%20RPi%20NoIR%20Cam’%20%5C%0A%20%20%20%20%20%20%20%22annotated-%24%7Bfile%7D%22″/]
The script basically just writes a text containing timestamp from the EXIF data of image on the upper right side of the image (Check out: gravity NorthEast!). Then, I also put a static text on the lower right side of the image because I’m vain.
The actual time-lapsing
Before I learned that there’s a default time-lapse option for RPi, I made a shell script that runs every 5 minutes using cron. (stupid, sorry)
Anyway, the built-in -tl command works like this:
raspistill -o myimage_%06d.jpg -tl 120000 -t 18000000
This command will take a photo every 2 minutes (120000 milliseconds) for 5 hours (18000000 milliseconds) resulting in a sequence of 150 images. The “%06d” appends 6-digit number on the image filename.
Then run it in the background.
Converting still images to video
If you’re doing this once only, you can just use iMovie. But that’s boring.
Of course I want the compiling and uploading automated. (I haven’t finished doing the “uploading” part yet)
For the collecting and converting still images to video part, I needed to install mencoder.
sudo apt-get install mencoderThe command for collecting the still images and actually converting them to a video is this:
[pastacode lang=”bash” path_id=”34d5e06b311aa3bb4df2″ file=”” highlight=”” lines=”” provider=”gist”/]
My plan is to run this script every time my time-lapse thingy ends.
The endgame
This was my first try.
I did not position my camera in a perfect place so I’m sorry for the quality. The actual quality of the photos are good (5mp) but I compressed it to be able to upload faster. Sorry!
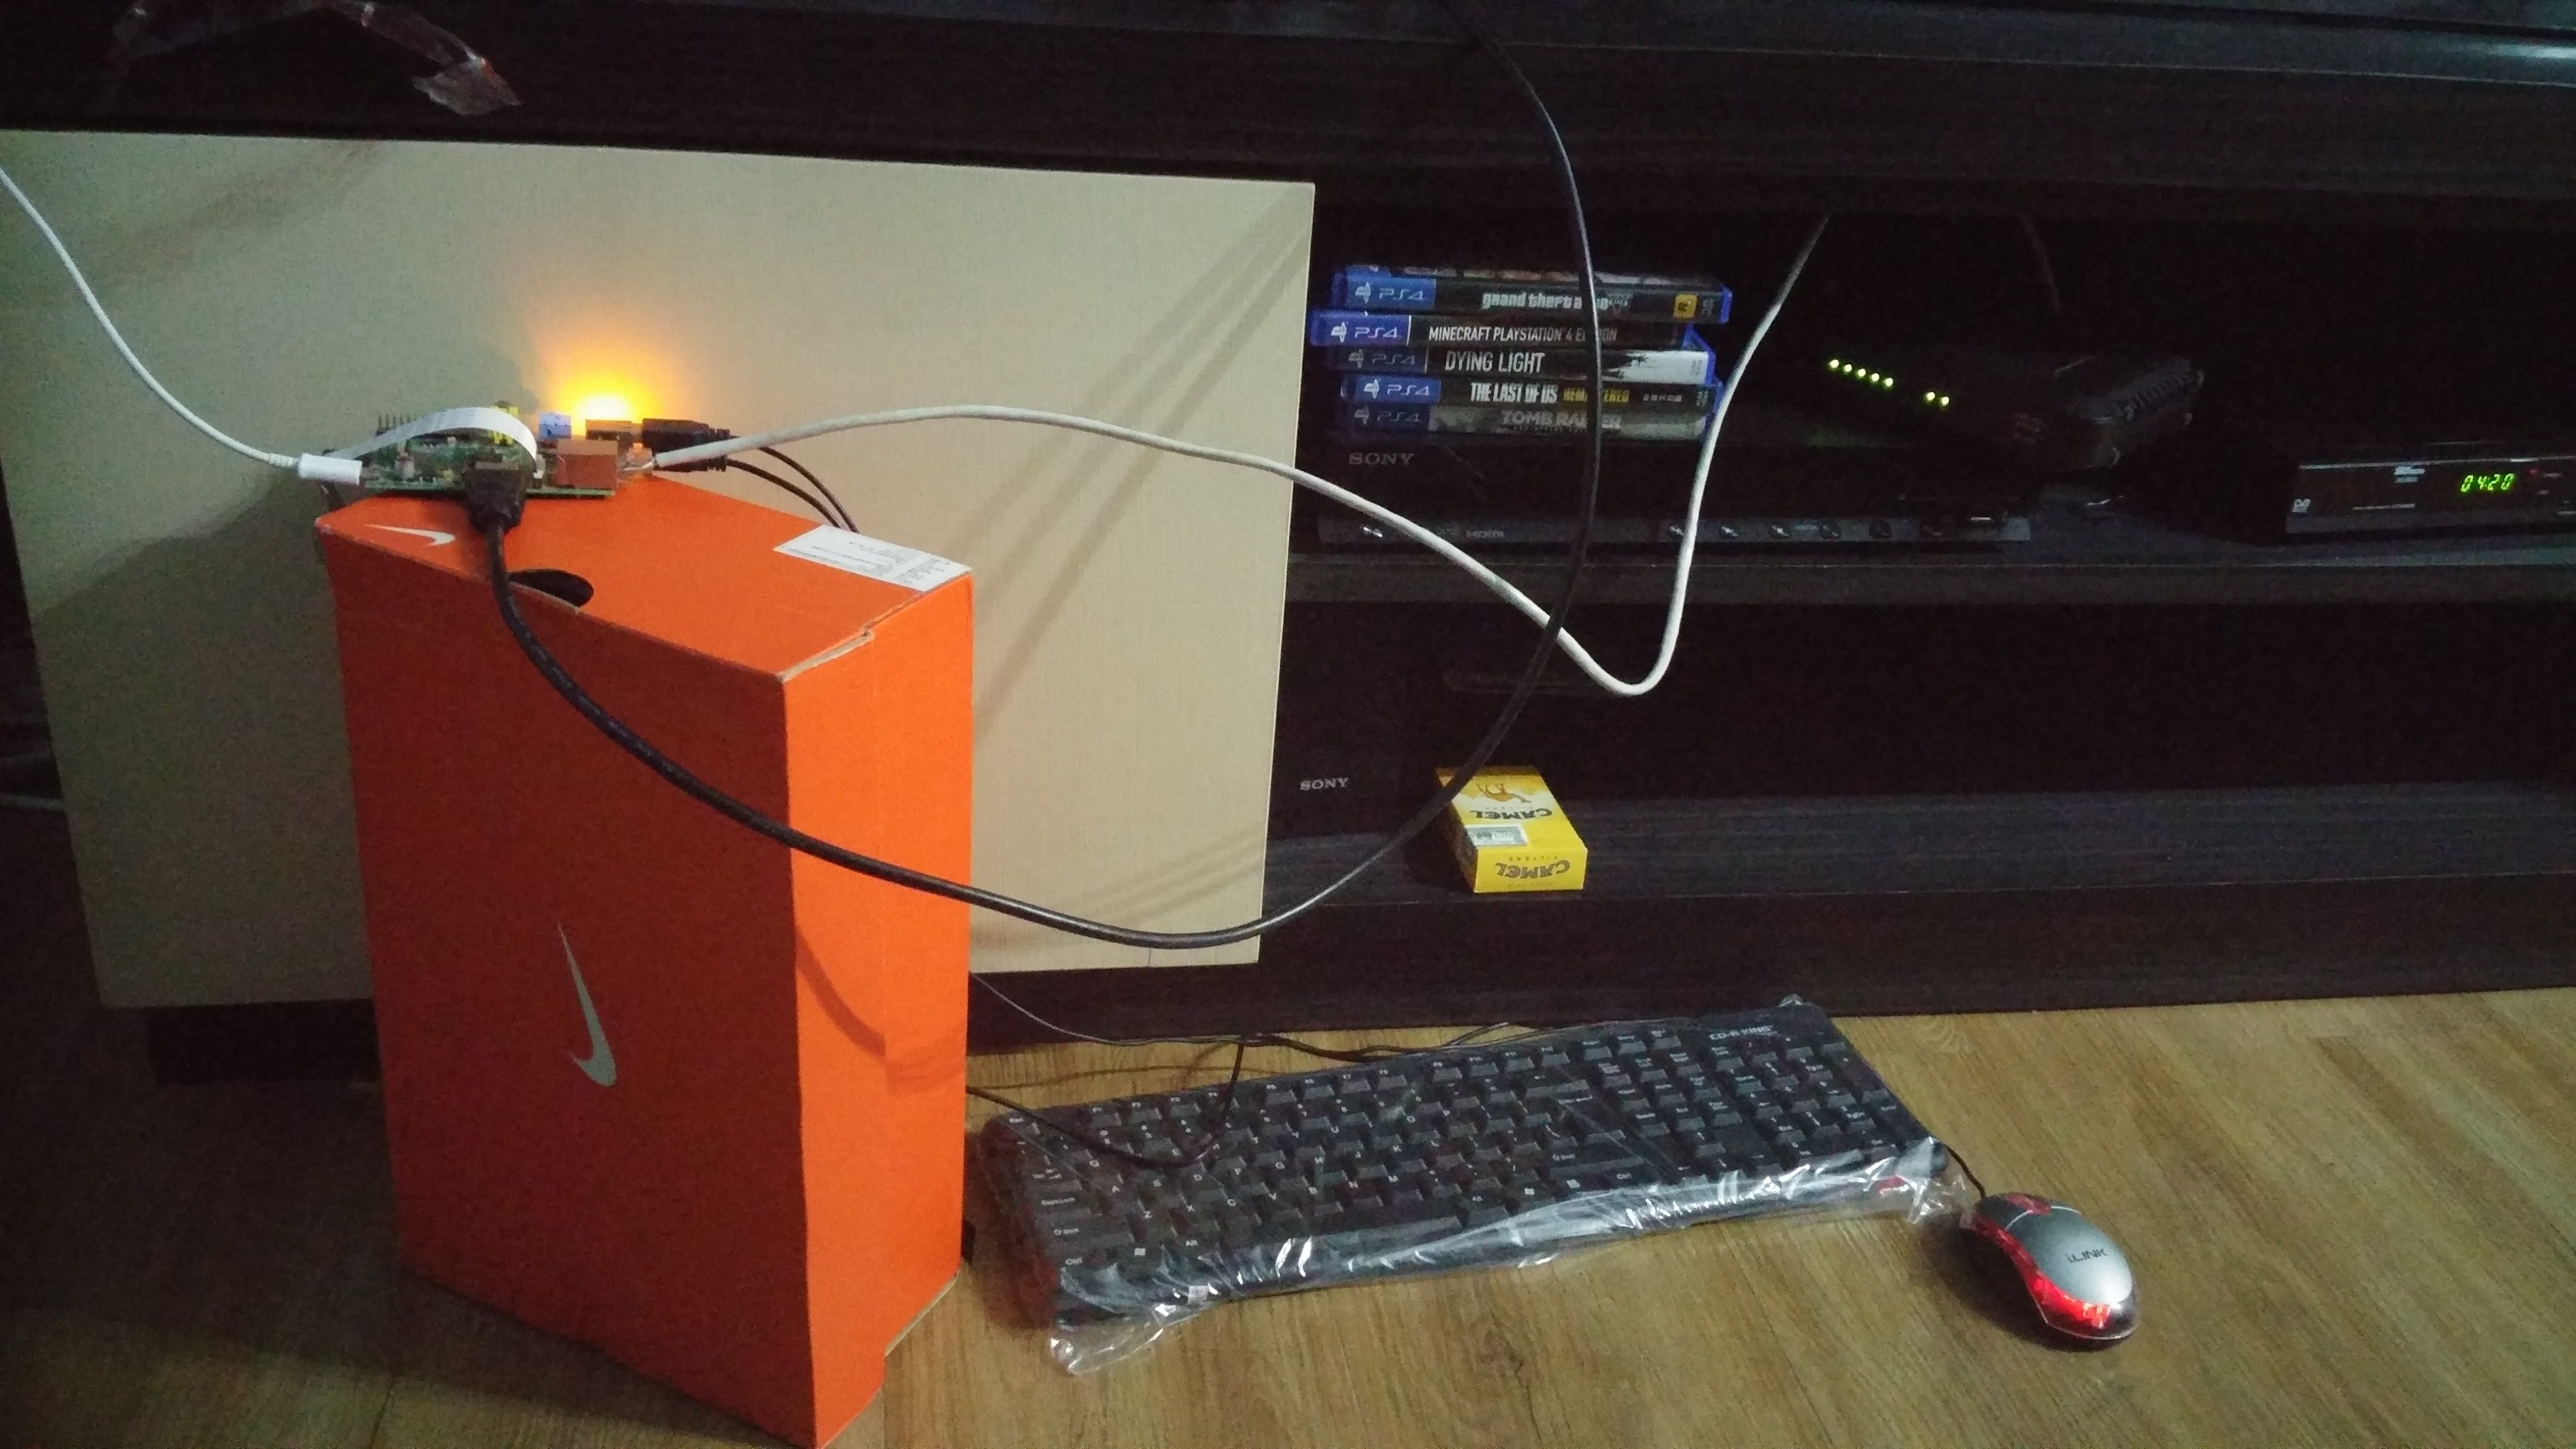
Anyway, here’s how it looked like in the background:


2 comments for “Time-Lapse Video Generator Using Raspberry Pi”