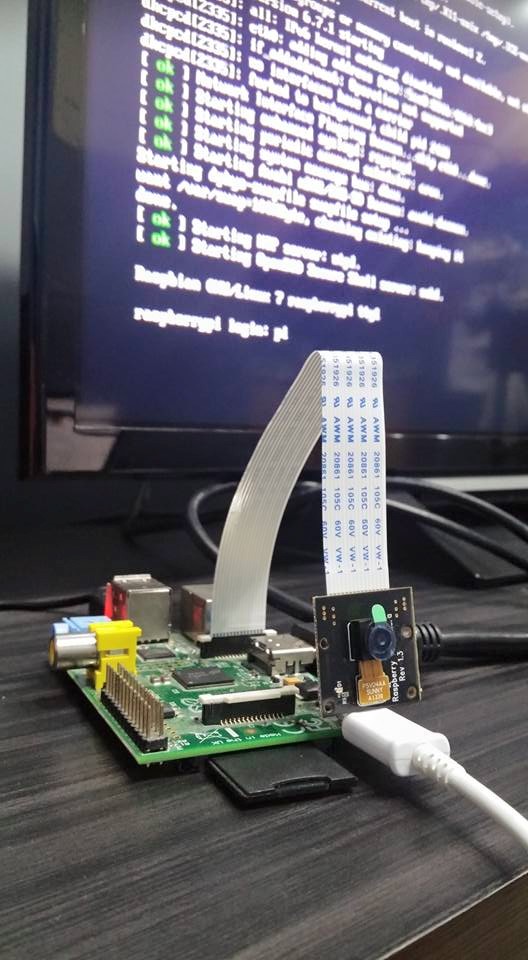
The very first thing that I did was to download an OS that my Raspberry Pi will use. There are many options like NOOBS and Ubuntu Mate but everyone’s sold with Raspbian so I chose it as well.
Setting Up Raspbian on Raspberry Pi
After I’m done downloading the OS here, using was not as easy as transferring it to the SD card. I had to flash it to the SD card to make it bootable by using the dd command. But before that, I set up the SD card by erasing and making it MS-DOS (FAT) format by using Mac’s very own Disk Utility. And for the rest of the flashing tuts, I followed this.
In a nutshell, these are the steps that I followed:
- Flash the latest Raspbian image to the SD Card
- Attach the camera to RPi
- Plug a USB mouse/keyboard into the USB ports
- Plug in the HDMI monitor to the HDMI port
- Plug the Ethernet cable
- Insert the camera module (because I have one!) — the cable slot is placed between the Ethernet and HDMI ports
- Plug the power into the Pi (I used my LG G3’s charger!)
And the final step is for the Pi to actually boot.
Post Install Stuff
After the first successful boot, a configuration screen called the “Setup Options” appeared.
Default login credentials for the pi:
username: pi
password: raspberry
I did 5 things after booting up:
- Expand Filesystem – this is to expand the OS to fit the whole space on the SD card for the RPi to take advantage of
- Enable Boot to Desktop/Scratch->Desktop Log in as user ‘pi’ at the graphical desktop
- Change Password
And because I have a camera:
- Enable Camera->Enable
- Advanced Options->SSH to enable copying files
And then sudo reboot to apply the changes!
In case you missed the Setup Options or you want to go back, just
sudo raspi-configCamera
After rebooting and logging in, I tried using the camera via command line:
raspistill -o test.jpg
The above command is the basic taking of photo built in the Raspberry Pi. I haven’t explored the other stuff that I can do but my plan is to make a time-lapse photography for my plants (or other less boring things). There are lots of arguments that one can pass to the raspistill command as per this.
SSH/SCP from Mac to Raspberry Pi
From my Mac, I was also able to access my RPi via SSH:
Ha!!! See??? Those are the files in my RPi. But I can’t do much here…yet.
And since I’m using the command line and not the GUI, I didn’t know how to view the files. So I wanted to transfer the pic to my Mac which is in the same network as to where my RPi is connected.
I tested transferring photos shot by my Raspberry Pi NoIR camera using SCP:
Yay!
The next thing that I will do is to make a time-lapse thingamajigger and/or an always-on torrent box.


